
In this tutorial we will create a logo consisting of an image with a border, some text, and an underline.
7.1 Download the photo image you want to use from unsplash.com. Move it to the Pictures folder. Go to File > Open, and open the image.
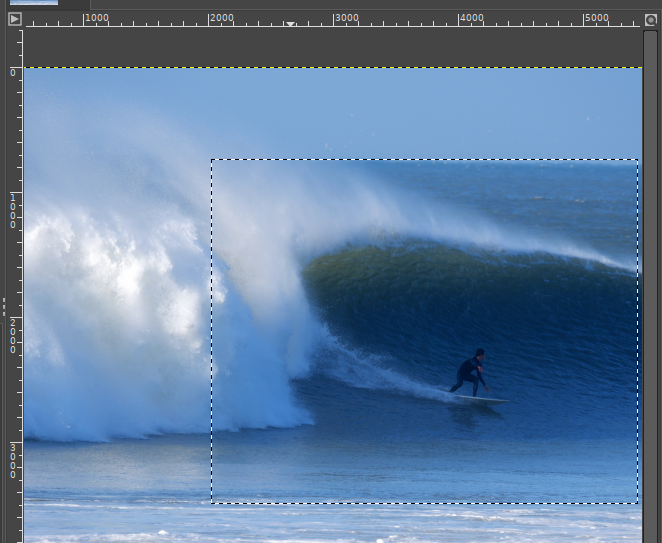
7.1.1 Crop the portion of the photo you want to use. First select the area to be cropped with the Rectangle Select Tool. Second crop the image with the Image > Crop to Selection.
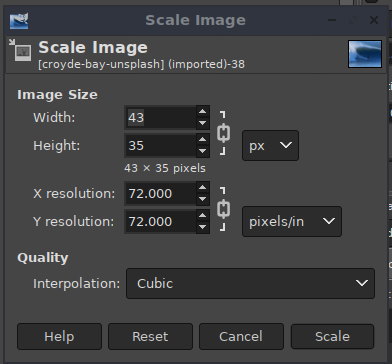
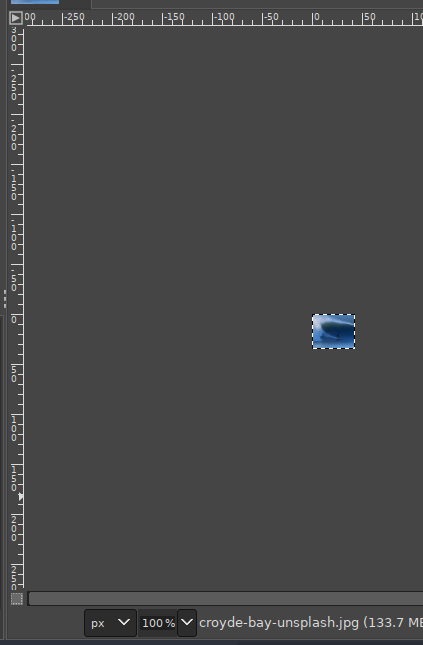
7.2 Go to Image > Scale Image. Resize the photo to a height of 35px. Make sure the chain connecting height and width is connected, so that a change in height proportionately changes the width. The image will appear as a very small square. Size it to 100% using the percent box in the lower-left corner.
7.3 Place a border around the box. Go to Select > Border. I used a 2px border. Make the background color black. Select the Bucket Fill Tool. Click on the border with the Bucket Fill Tool to make it black. Choose Select > None to remove marching ants.

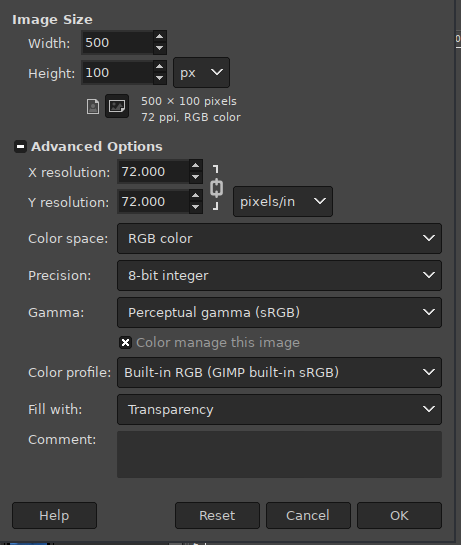
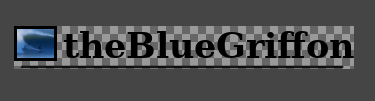
7.4 Open a second window. Go to File > New. Under Advanced Options Fill with: Transparency. Create Image Size Width 500px and Height 100px.
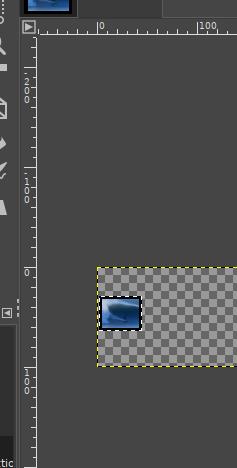
7.5 Edit > Copy and Edit > Paste the resized photo to the 500px by 100px window. Use the Move Tool to slide the image where you want it.
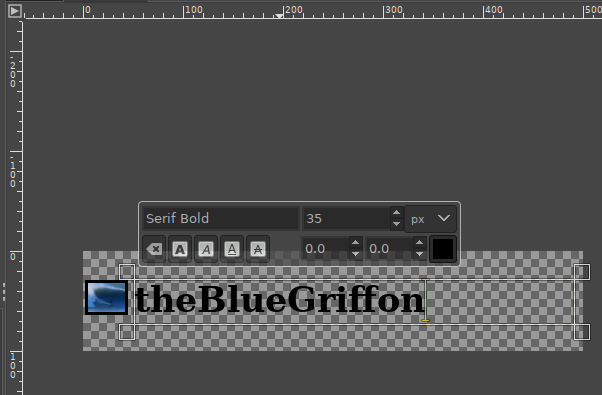
7.6 Use the Text Tool to create a box. Make the text size 35px, and click on A button to bold. Make the color black. Type in the words “theBlueGriffon”. Use the Move Tool to slide the text where you want it. Press Escape to leave dialogue box.
7.7 Place an underline below the logo. Select the Paintbrush Tool. In the tool dialog box select Tool Options and adjust the size of the line to a 2.
7.7.1 Make the foreground color black.
7.7.2 You want to create a perfectly horizontal line, so use grids. Go to View and select Show Grid. Go to View and select Snap to Grid.
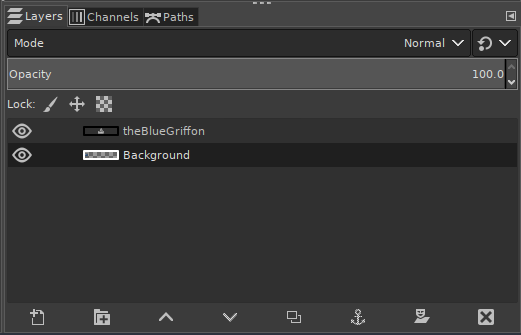
7.7.3 Click on the background layer to make it active.
7.7.4 Using Paintbrush Tool, click on the beginning point of the line. Move the cursor to the endpoint of the line. Hold the shift key and click. The underline will appear. Deselect View > Show Grid. Deselect View > Snap to Grid.
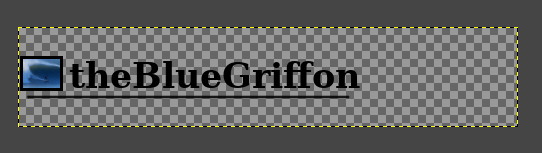
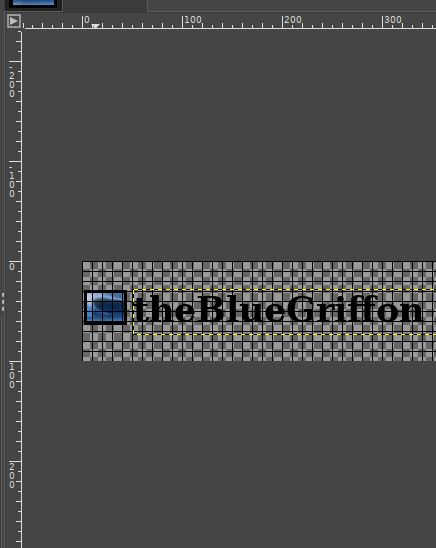
7.8 Crop the image. Image > Crop to Content.
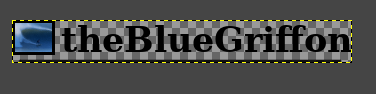
7.8.1 Turn off yellow dotted boundary line. Go to View > uncheck Show Layer Boundary.
7.9 We will now save the photo using the Export command. Go to File > Export As … . We will name the image, ThisLogo4.png . If we do not use a new name the photo will be written over. Click on Export in lower-right corner.
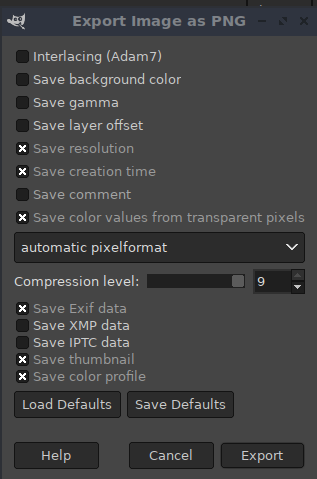
7.9.1 A window called Export Image as PNG will appear. Click on Export in lower-right corner.
7.9.2 Your logo is now saved with a transparent background.
Ch1-Resize
Ch2-Crop
Ch3-Sliding
Ch4-Slice
Ch5-Border
Ch6-Line
Ch7-All Together
