
GIMP is the Linux equivalent of Photoshop. GIMP is short for GNU Image Manipulation Program. Photoshop is a great program, but GIMP is free. Photoshop costs $240 per year. I can buy a 4 GB RAM laptop for $240. (Requires minimum 14 inch on diagonal display.) Put a Linux Lubuntu operating system on it for free, and load GIMP on it for free. I use GIMP for editing pictures that go on the internet. You can get free images from unsplash.com.
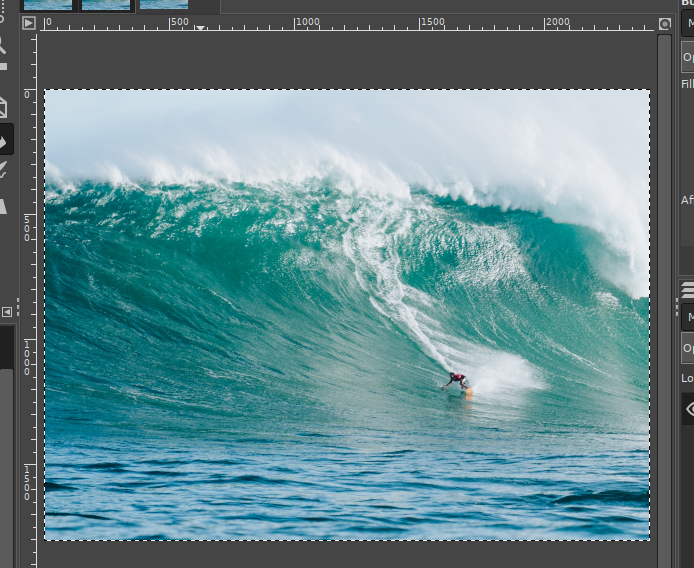
5.1 Download a photo from unsplash.com and crop it to a width of about 2000 pixels.
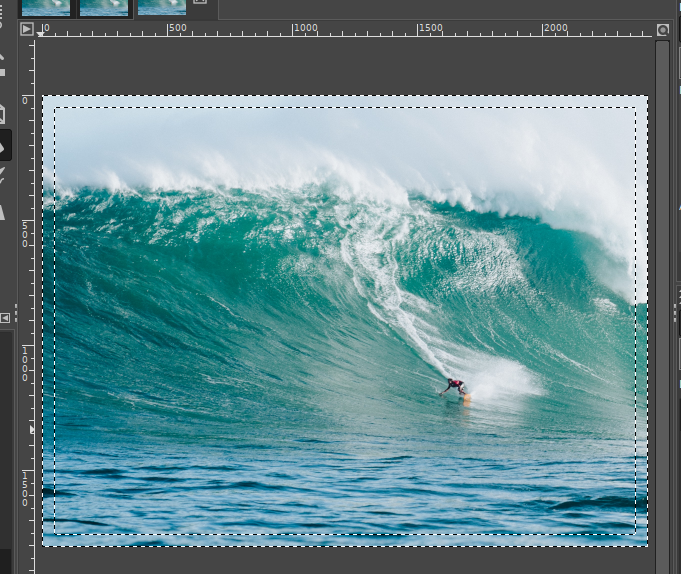
5.1.1 Select the area to crop with the Rectangle Select Tool. Go to Image > Crop to Selection. The image is now cropped.
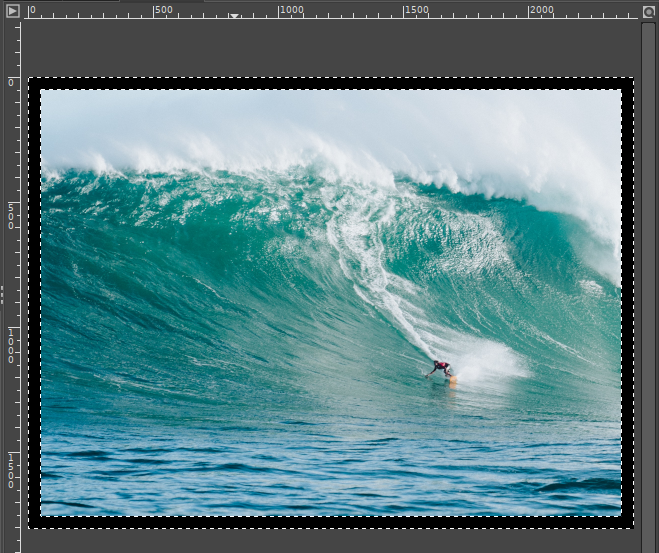
5.2 Go to Select > Border. Select 50px for the border width. Border Style is Smooth.
5.3 Select the Background color as black. If you want to change the border width, use Edit > Undo to backup and make changes.
5.4 Go to Tools > Paint Tools > Bucket Fill. Click inside the border to fill as black.
5.5 We will now save the photo using the Export command. Go to File > Export As … . We will name the image, bigwave1.png . If we do not use a new name the photo will be written over. Click on Export in lower-right corner.
5.5.1 A window called Export Image as PNG will appear. Click on Export in lower-right corner.
5.5.2 Your image is now saved.
Ch1-Resize
Ch2-Crop
Ch3-Sliding
Ch4-Slice
Ch5-Border
Ch6-Line
Ch7-All Together
