
2.1 Go to your program files on the desktop and look for Anaconda3. Under Anaconda3 you will see Anaconda Navigator.
>2.2 After launching Anaconda Navigator, go to the Environments tab and click on the Create icon.
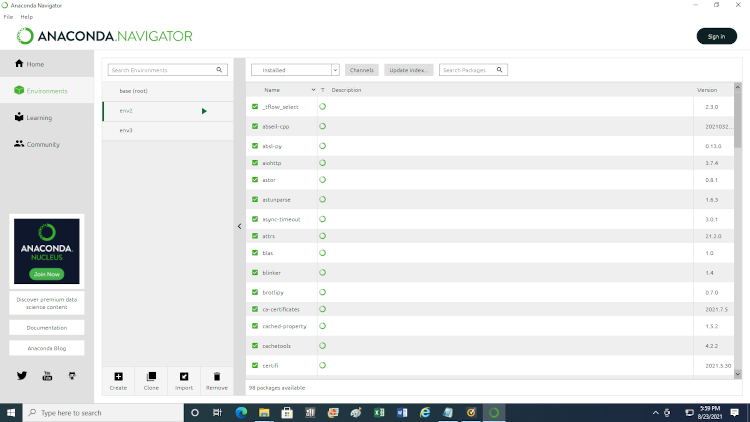
2.3 Input the environment name, and select the version of Python. Our name for the environment is env2 .
2.4 Click Create.
2.5 Now it is time to add tensorflow and keras to the environment. Install tensorflow first. Select ‘Not installed’ and type tensorflow in the box. Update the index. Select tensorflow from the index and click Apply. A pop-up window will appear; click Apply. This will take some time. You will also see a pop-up asking you to update Anaconda. Say no.
2.6 Repeat 2.5 for keras.
2.7 Time to test the installation. Click on arrow to right of env2. Select Open Terminal. The terminal prompt should have env2 in the prompt.
2.8 At command line type python.
(env2) steve@steve:~$ python
2.9 The command prompt will change to the following.
>>>
2.10 Type import tensorflow as tf and press enter. If there are no errors, everything is working properly.
>>> import tensorflow as tf
2.11 Type import keras and press enter. If there are no errors, everything is working properly.
>>> import keras
2.12 Type exit(). The prompt will change back.
(env2) steve@steve:~$
2.13 We can do one more optional test. We will print out the keras version. (Use double underscores around version.)
(env2) steve@steve:~$ python -c “import keras; print(keras.__version__)”
Output
2.4.3
2.14 If you want to exit the environment and Anaconda Navigator, type conda deactivate. For advanced users skip to Chapter 4 for a basic neural network program. For intermediate users go to Chapter 3 to review use of the Notepad text editor.
(env2) steve@steve:~$ conda deactivate
Output
steve@steve:~$
Table of Contents
Ch1-Installation
Ch2-Conda Navigator
Ch3-Notepad Editor
Ch4-Run a Program
Ch5-Program Explained
