
3.0 First we must change the Pi password from the default. By default the username is pi and the password is raspberry. Use a strong password or passphrase. Type in passwd into the command line. You will be prompted for the current password (raspberry). Enter it. You will then be prompted twice for a new password. It will end with the message (passwd: password updated successfully).
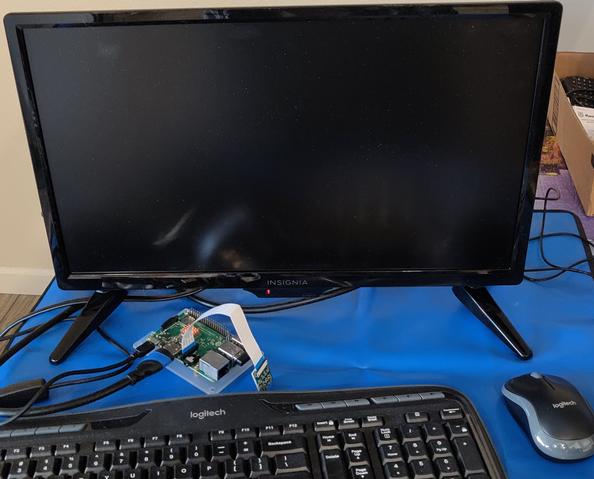
3.1 This setup was performed on Raspberry Pi 3 Model B+, with a monitor, keyboard, mouse, and an Arducam Mini Camera Module OV5647. A 16GB card was used. The router is a Cox Panoramic router/modem. The software version for Pi was Raspbian Version 9 (NOOB). Connect camera to Raspberry Pi as in the Arducam instructions. Be sure to plug in your monitor before plugging in the HDMI cable into your Raspberry Pi board. I used a wireless keyboard and mouse combination. Turn on Pi.
3.1.1 Enable the camera in Raspberry Pi.
Sudo raspi-config (Select Enable camera. Enter. Tab to Finish. Reboot Raspberry Pi.)
3.2 Test your Arducam connection with the following command
vcgencmd get_camera
Output
    (If camera is connected you will see) supported=1 detected=1


    (If camera is not connected you will see) detected=0
3.3 Install the Motion program on Raspberry Pi.
sudo apt-get update


  sudo apt-get install motion*
3.4 It is good practice to make a copy of the configuration file before modifying it. We will do that now.
sudo cp /etc/motion/motion.conf* /etc/motion/motion.conf*.original
3.5.1 Setup to run the camera server continuously in background. Open the Nano editor with the /etc/default/motion file.
sudo nano /etc/default/motion


    (change this line to yes)

    start_motion_daemon=yes


     (Save and close the modified file. Press Ctrl + x. Press y. Press Enter.)
3.5.2 Make the following changes to /etc/motion/motion.conf with the Nano editor.
Sudo nano /etc/motion/motion.conf


  (Search for the keyword "daemon" with Ctrl + w. Enter. Then continue searching page with Alt + w. Enter.

  (change this line to "on")

   #Daemon   daemon=on


  (change this line to "center")

  #Image Files Output   output_pictures center


   (Save and close the modified file. Press Ctrl + x. Press y. Press Enter.)
3.6.1 Other settings in /etc/motion/motion.conf that you can consider modifying after setup. Note that comments begin with the # sign.
#The mini-http server listens to this port for requests.

    stream_port=8081


    #Quality of the jpeg (in percent)

    Stream quality 50


    #Maximum number of frames to be captured per second.

    framerate 2


    #Image width

    width 320


    #Image height

    height 240


    # HTTP Based Control

    webcontrol_port 8080

    (Do not set the stream_port to be the same as webcontrol port)


    #Motion Detection Settings

    threshold     1500

    (Detection threshold is the number of changed pixels in an image before it is captured. The default is 1500. If you want to make it more sensitive set it to a lower value.)
3.6.2 To start camera video streaming, open the terminal and run these commands
sudo service motion start


      sudo motion
3.6.3 Type the following into your browser. You should be streaming video on your Raspberry Pi computer.
http://127.0.0.1:8081
3.6.4 The /var/lib/motion directory is where the image files from the camera are stored. You can check it occasionally to see if it is filling up. You can also check it to see if motion is running. You should see new images.
ls -al /var/lib/motion
3.7 To access the Raspberry Pi without a monitor and keyboard you need SSH. You must setup DDNS on Pi, and Port Forwarding on your router/modem. This setup is described in Chapter 1. I do not recommend setting up live remote viewing in a web browser, as it leaves your computer open to being hacked. In Chapter 4, I will show you how to view your images on your phone, safely.
Table of Contents
Ch1-SSH
Ch2-VNC
Ch3-Motion Camera
Ch4-Remote Viewing
