

We will describe how to install the VSCode application on Ubuntu or Mint Linux, and how to create your first simple webpage. We will also describe the pros and cons of using VSCode as opposed to Dreamweaver or BlueGriffon.
Why use Visual Studio Code application? I started off using Dreamweaver in the early 2000's. I liked it, but CSS was barely an idea then. Today, HTML5 use is required and it requires CSS to make a webpage. I have tried using the WYSIWYG editor BlueGriffon. But as another author said, the front end is clunky (it has many bugs). I have not tried recent Dreamweaver releases. But they cost money, have bugs, and do not give you the flexibility in design. In addition, if you do have a problem, you still have to have knowledge of HTML & CSS. In other words, if you are going to design web pages you need to know HTML & CSS. If you are using HTML & CSS you need an editor such as VSCode. It will probably take about a couple of hours a day for a month to be comfortable using HTML & CSS to design pages.
I will describe installation for the Ubuntu operating system. Search Google for Visual Studio Code and click on Download. This will bring you to the download page. Your computer is probably 64 bit. Click on .deb 64 bit to start download. Save the file. Navigate to your Download folder and double click on the downloaded file. Install Package. Visual Studio Code should install. Check the applications menu on your computer. Open VSCode. You may want to disable the following under File > Preferences > Settings: telemetry, crash reporting, and auto-updates. Search for the appropriate term at the top of the Settings page and make the change. Also under Settings, you should also enable Editor Word Wrap. For more information see FAQ in the Visual Studio Code website.
You are now ready to create a folder, and file page for your website. I prefer creating the folder and index.html file page in the File Manager portion of the operating system. You must be comfortable doing this because you must back up your work each day. You should know where the folders and files are located. Open File Manager. In your Documents folder create the folder Test-Html-CSS by right clicking and selecting Create New > Folder. Open the Test-Html-CSS folder by double clicking on it. In Linux create an index.html file by right clicking and selecting Create New > Blank File. Call it index.html.
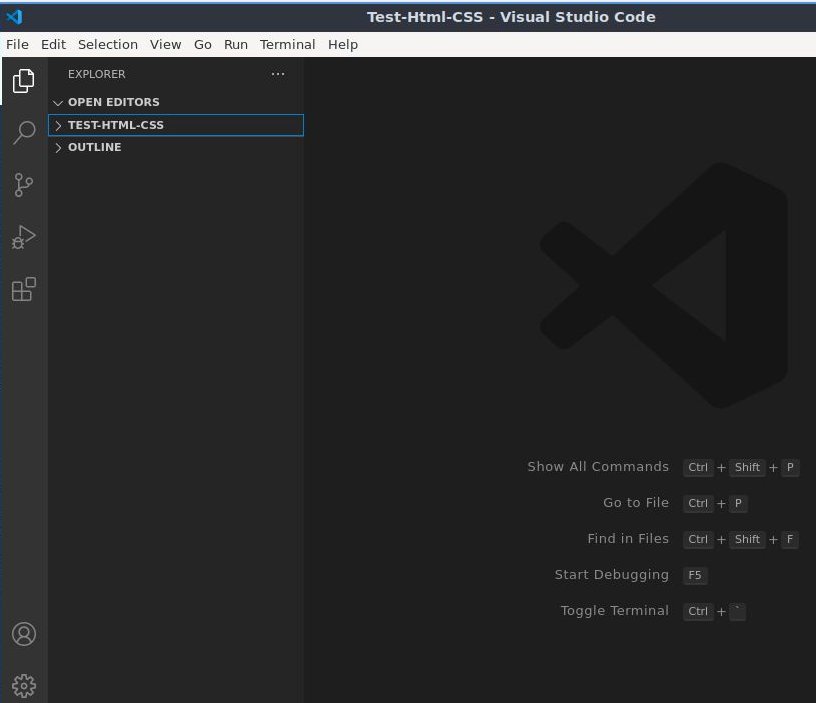
Switch back to the VSCode editor. I suggest always opening folders, to keep track of the files you are working on. Click on File > Open Folder. From the File Manager select Test-Html-CSS and click on OK to Open. The folder name Test-Html-CSS will appear, with the index.html file beneath it. You never have to close the folder in VSCode editor. But always File > Save your work. When you want to work on a new folder, select File > Open Folder and select the new folder to work on. The old folder will be closed and the new folder will appear in VSCode editor.
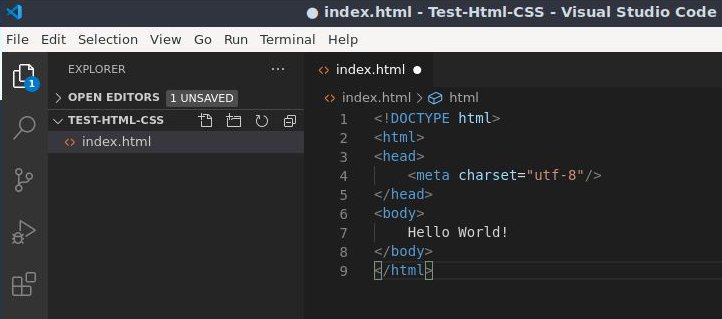
We are now ready to type, or copy and paste into index.html. Click on index.html to open it in the VSCode editor. Enter the following code for a simple webpage that says Hello World!. Important: You must use File > Save each time you enter code or make a code change for the change to be visible in your browser.
<!DOCTYPE html>

        <html>

        <head>

          <meta charset="utf-8">

        </head>

        <body>

          Hello World!

        </body>

        </html>
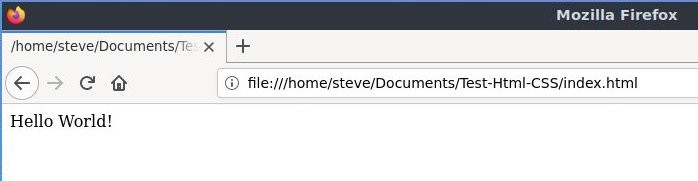
Open your web browser (we are using Firefox). Open the File Manager with Ctrl-o. Navigate to Test-Html-CSS and open the folder. Double click on index.html. If you have entered the code correctly, you will see the words Hello World! in the browser. REMEMBER: Refresh you browser after updating and saving a webpage file.
If you suspect a problem with the code, press Ctrl-Shift-m, to open a code problem window in VSCode editor.
When you double click on index.html in File Manager, you will open the page in a web browser (Firefox). If you want to see the HTML-CSS text in index.html, you must open the file in the Text Editor. Right click on the file name (index.html) and select Open With > Text Editor. This is good to remember, even though most of your editing will be completed in VSCode editor.
This concludes our introduction to Visual Studio Code editor.
I save my work in four places. On my Linux computer, in the Google cloud (called Google Drive), on my Windows computer, and to a flash drive stick. The minimum is to save to your work computer and the cloud. Google cloud allows 15 Gig of free storage. To sign up for Google cloud storage search Google for Creating a Google account. Follow the instructions. Briefly, just go to www.google.com and click on Sign in in the upper right corner. Click on Create account.
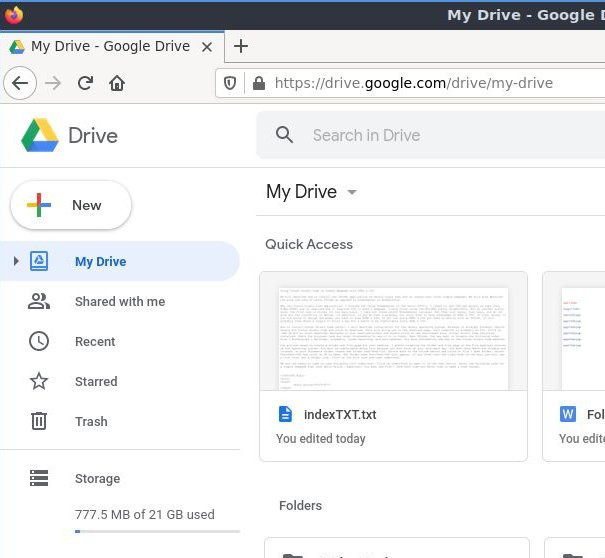
After creating an account, search Google for Google Drive, click on Drive. On the Google Drive webpage click on Go to Drive and sign in. You are ready to upload a folder to Google Drive. To upload a folder, click on My Drive. Click on Upload folder. Select your folder from File Manager and click on Open or Upload. The folder will upload to the cloud.
To download a folder from the cloud to your Windows computer, open Google Drive in the computer you want to download to. Right click on the folder you want to download, and select Download. A message box will appear saying the folder was downloaded as a zipped file. In the message box click Open file. You will see your folder in the Downloads folder of your computer. You can copy and paste the folder to where ever you like on your computer.
We all use the editors a little differently. If you want another perspective on using Visual Basic Code editor go the the YouTube video HTML5 & CSS Development: Learn How to Build a Professional Website.
Home Page
Visual Studio Code
Simple Webpage
Website Structure
Webpage Layout
HTML Escape
Web Hosting
FTP
Using gThumb
Computer Hardware
Printer Friendly
