
Filezilla is an FTP client for both Windows and Linux. It is free. FTP is used to transfer files from your computer to the server. In other words, your website is placed on the web server so that everyone can see it on the internet. You must have an account on the webserver, where you rent space. There are many web hosting companies. I use www.godaddy.com. They have been fairly reliable, fairly good customer support, and are reasonably priced. It will cost you approximately $100 per year to get a domain name and hosting space.
Downloading Filezilla client is simple. I will describe the process for Windows. Download FileZillaxxx.win64-setup.exe. In Downloads double-click on the exe file to start the install.
Navigate to the application menu and click on Filezilla.
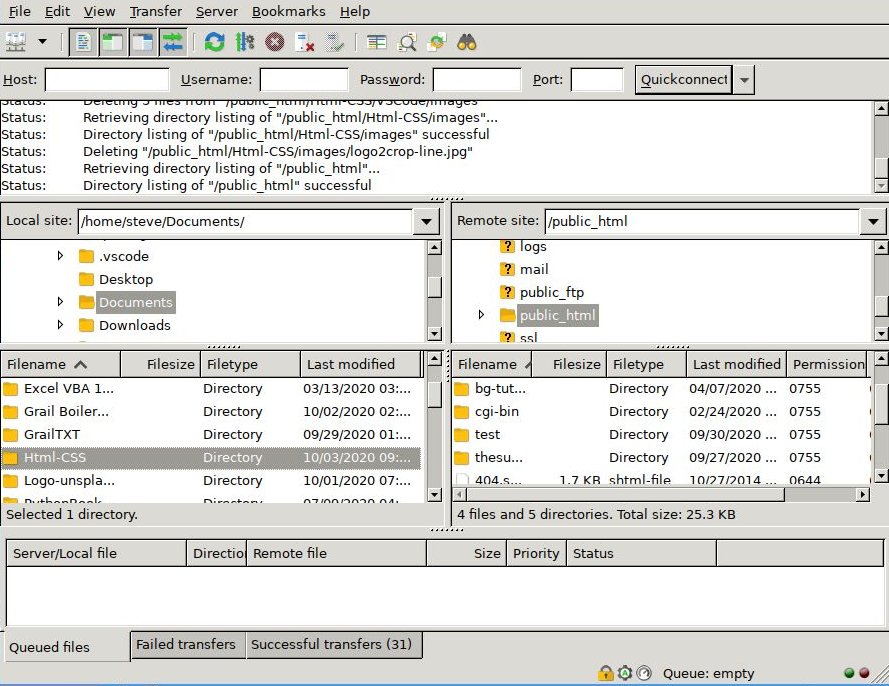
Take your time to become familiar with the screen. From the hosting company you will need the following information, which you will get when you sign up. You need the hosting IP address (Host), Username, Password, and Port number. Type them into the boxes indicated. Use your complete password. Click on Quickconnect. If everything is correct the Remote site: on the right side of the page should light up. On the upper half of the Remote site navigate to public_html. To the right of the words Remote site: you should see public_html. See the picture above. Your folder will be copied from the left side of the page to the right side. It will be placed in the right lower Filename box. I will give as an example my webpage in the picture. Under Local site: navigate to the Documents folder on your computer. Under the Filename box navigate to the folder Html-CSS. This is the folder I am copying to the server on the Remote site. In the Remote site you should see the public_html folder. Your Html-CSS folder will be copied to the box called Filename. Just click and hold, to drag the folder Html_CSS from the Local site side to the Remote site side. If you want to replace the Html-CSS folder in the Remote site; right click on it and Delete it. Then drag and drop the Html-CSS folder from the left side to the right side as before. Read these instructions carefully, or files will not show in the internet.
Note: There is a small folder icon with two dots next to it below the Filename. Clicking on the folder with two dots takes up one level in the directory. Clicking on any other folder moves you down a level in the directory.

Finally go to your web browser and see that the website for your domain name is displayed. This is discussed more in the Hosting section of this website. After you typed in the IP address (Host), Username, and Password the first time; you do not have to type it a second time. Go to Quickconnect, and click on your username to connect to the server.
Now it is time to check your website. For my website go to http://www.thesurfdragon.com/Html-CSS/ . I have a big website planned, and I break the domain into folders, such as Html-CSS. If you have a simple website you will probably use http://yourdomainname.com/index.html . Except you do not have to use the index.html suffix to get to your webpage. Just type http://yourdomainname.com .
Home Page
Visual Studio Code
Simple Webpage
Website Structure
Webpage Layout
HTML Escape
Web Hosting
FTP
Using Paint 3D
Printer Friendly
